OBIEE 11g Installation 32-bit/64bit In LINUX
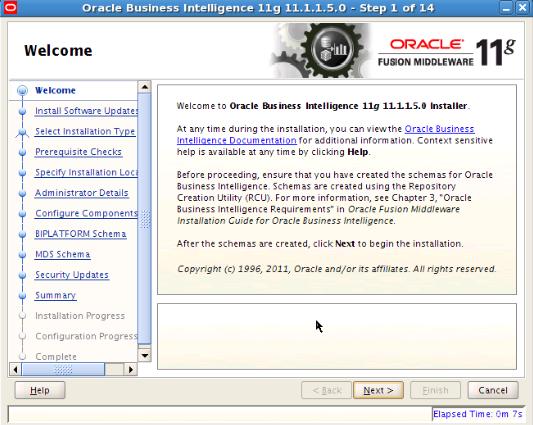
Step 1: To install Oracle BI EE 11g, after you have downloaded the install files, and unzipped them, you need to go to “Disk 1″, and run the “runInstaller” file.

Step 2: Open Terminal and run the “runInstaller” file.

This launches the Oracle Universal Installer (OUI for short).
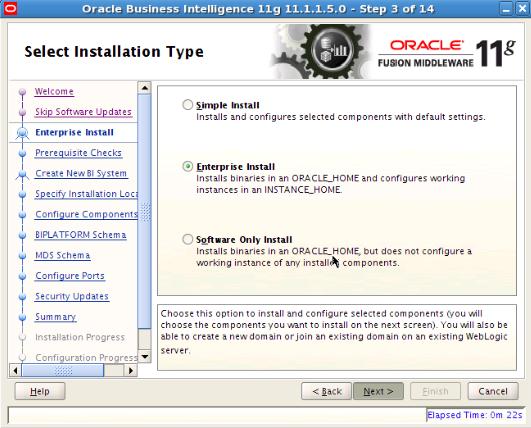
Step 3: Install Software UpdatesàClick on Enterprise Install.
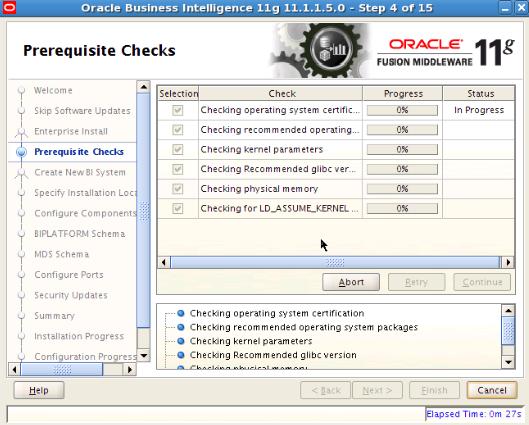
Step 4: Prerequisite Checksà There are some basic checks that the installer performs, like checking for the operating system version, the Service Pack, the available memory and disk space.
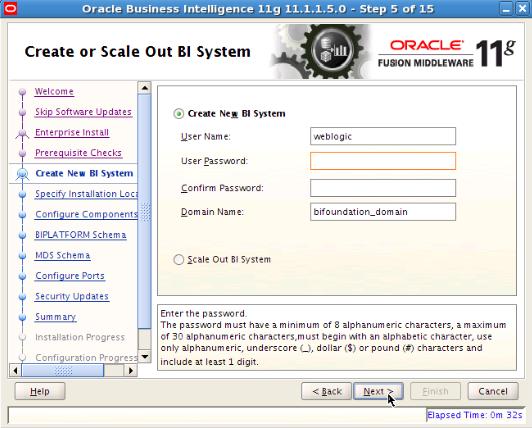
Step 5: Create New BI Systemà You can enter any name here – like “weblogic” or “administrator” or “admin” or “Praveen”. Enter a password, and make sure you remember it, since you will need this to log into the Console, BI EE, Enterprise Manager, and just about everywhere else.
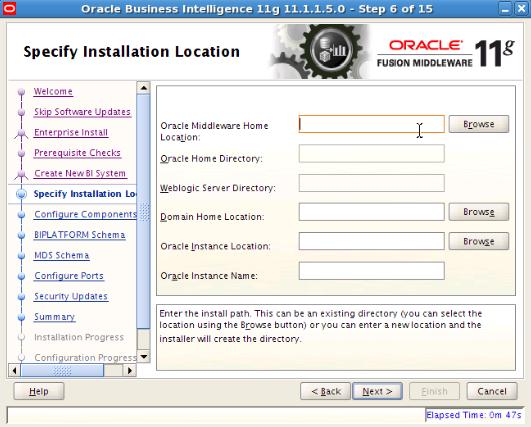
Step 6: Specify Installation Location à The Middleware Home is going to be a new concept for people who have not installed Oracle products before. With this release, Oracle BI EE integrates more tightly with the Oracle way of installing products. Every product needs to be installed into an “Oracle Home”. If you don’t have an Oracle Home, you need to specify a new one. One thing that you will notice, which is different from other Oracle product installations, is that you do not get to specify a “name” for the Oracle Home. A system generated name is going to be assigned to this location that you specify as the Oracle Home. For the most part you do not need to concern yourself with its implications.
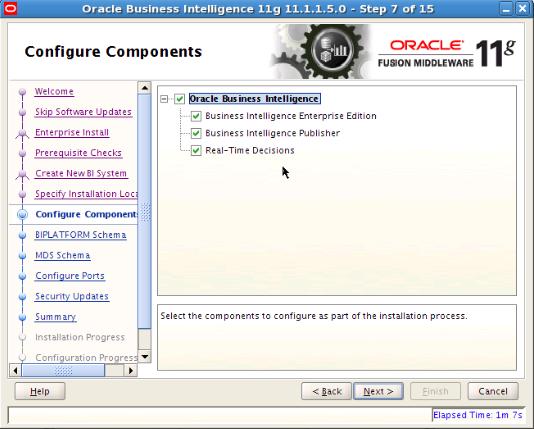
Step 7: Configure componentsà select all products on offer here which will install every thing.
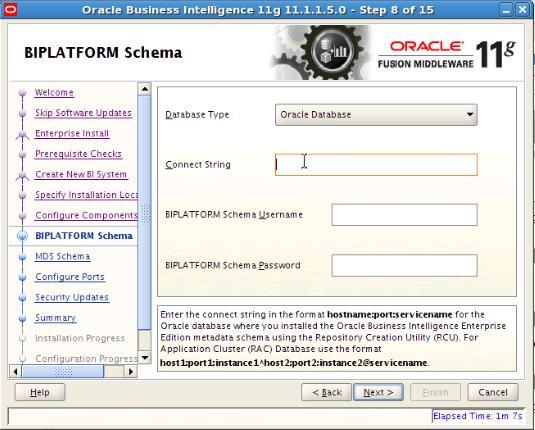
Step 8: BIPLATFORM SchemaàGive the Username and Password for the schema.(You can get this at the time of creation of RCU).
Step 9: Configure PortsàIf you want to change the port means then go to Specify Ports or else Click on Auto Port Configuration(Recommended).
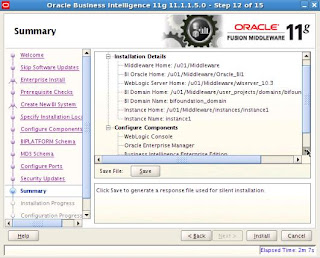
Step 10: SummaryàThis will gives the Installation Details and Configure Components.
Step 11: Click Install, now the installation process start.
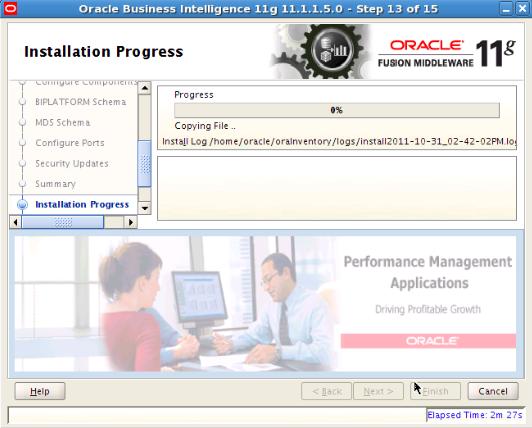
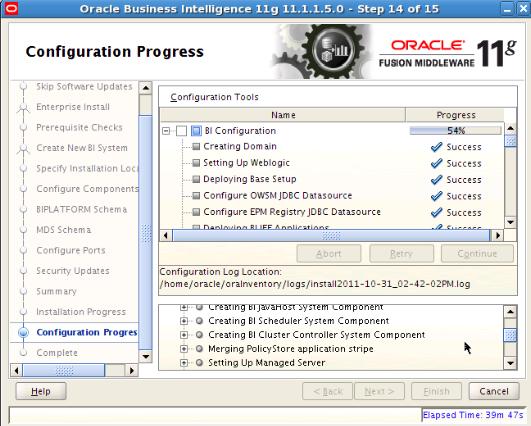
Once the configuration is completed successfully, you will notice the progress bar at 100%. That’s good. And every configuration step shows a status of “Success”.
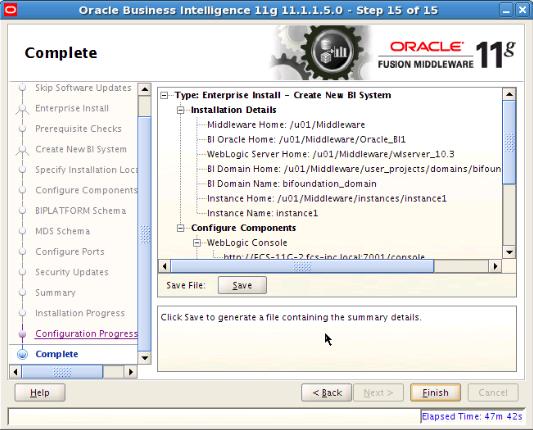
On this last screen, you will see details pertinent to your installation. It’s a good idea to save these details someplace, for reference later.
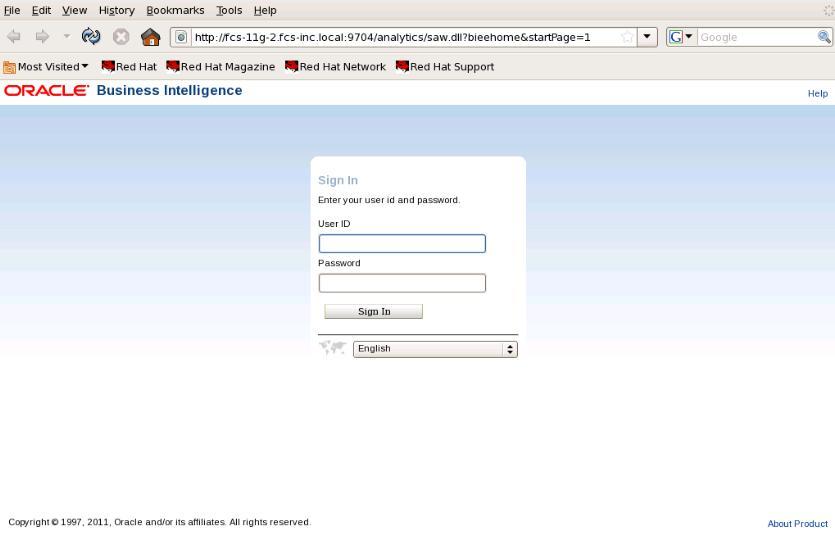
Now we can see the Answers Page which will open automatically. No need to restart the services for the first time. We can see SampleLite was installed successfully.
Thanks
Satya Ranki Reddy


No comments:
Post a Comment